Skip to main content
Selling to Us
Estate Jewelry & Gold
Jewelry
Watches
Costume Jewelry & Accessories
We Buy Gold
We Buy Diamonds
Undercover Gold Appraisal
Coins & Paper Currency
Coins & Coin Collections
Gold, Silver & Platinum Bullion
Paper Currency
Antique Decorative Objects
Fine Art
Chinese Antiques
Indian Antiques
Islamic Antiques
Art Glass & Art Pottery
Porcelain & China
Antique American & European Decorative Arts
Rugs & Textiles
Exceptional Furniture
Sterling Silver
Flatware & Hollowware
Rare Collectibles
Militaria & Guns
Japanese Swords
Advertising, Promotional Items & Bottles
Historical Memorabilia
Antique Toys
Musical Instruments
Auctions & Events
Current Estate Sale
Auction Archives
Speaking Engagements & Fundraisers
Gold Parties
Estate Sales
Art Restoration
About Us
FAQs
Exciting Finds
About Mark Lawson
WAMC Vox Pop Archives
Blog
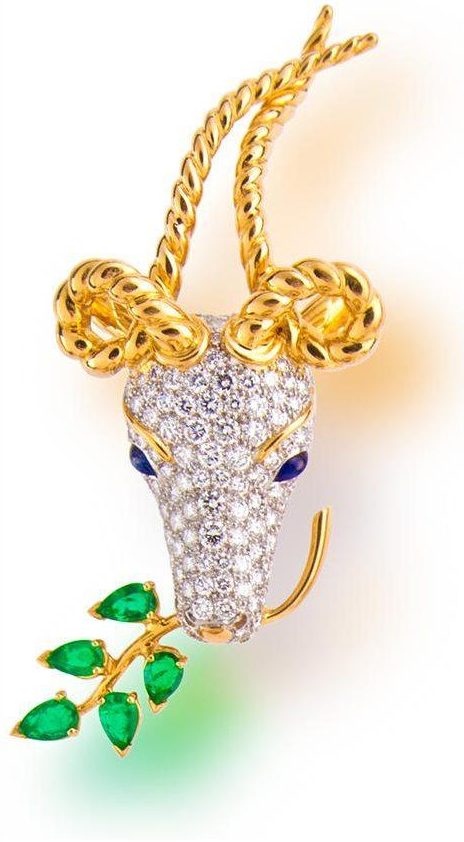
Jean Schlumberger for Tiffany & Co.
Louis Vuitton: The Evolution of a Trunk Maker
David Webb: An American Jeweler
1892-O Micro O Barber Half Dollar Coin
Taking Action Against COVID-19
Contact Us
Please click here to learn how we are fighting the spread of novel coronavirus (COVID-19) when we meet with you.
Home
518.587.8787
Email
Directions
518.587.8787
Directions
Selling to Us
Estate Jewelry & Gold
Jewelry
Watches
Costume Jewelry & Accessories
We Buy Gold
We Buy Diamonds
Undercover Gold Appraisal
Coins & Paper Currency
Coins & Coin Collections
Gold, Silver & Platinum Bullion
Paper Currency
Antique Decorative Objects
Fine Art
Chinese Antiques
Indian Antiques
Islamic Antiques
Art Glass & Art Pottery
Porcelain & China
Antique American & European Decorative Arts
Rugs & Textiles
Exceptional Furniture
Sterling Silver
Flatware & Hollowware
Rare Collectibles
Militaria & Guns
Japanese Swords
Advertising, Promotional Items & Bottles
Historical Memorabilia
Antique Toys
Musical Instruments
Auctions & Events
Current Estate Sale
Auction Archives
Speaking Engagements & Fundraisers
Gold Parties
Estate Sales
Art Restoration
About Us
FAQs
Exciting Finds
About Mark Lawson
WAMC Vox Pop Archives
Blog
Jean Schlumberger for Tiffany & Co.
Louis Vuitton: The Evolution of a Trunk Maker
David Webb: An American Jeweler
1892-O Micro O Barber Half Dollar Coin
Taking Action Against COVID-19
Contact Us
image5
Written on
June 21, 2021
.
Share this:
Previous